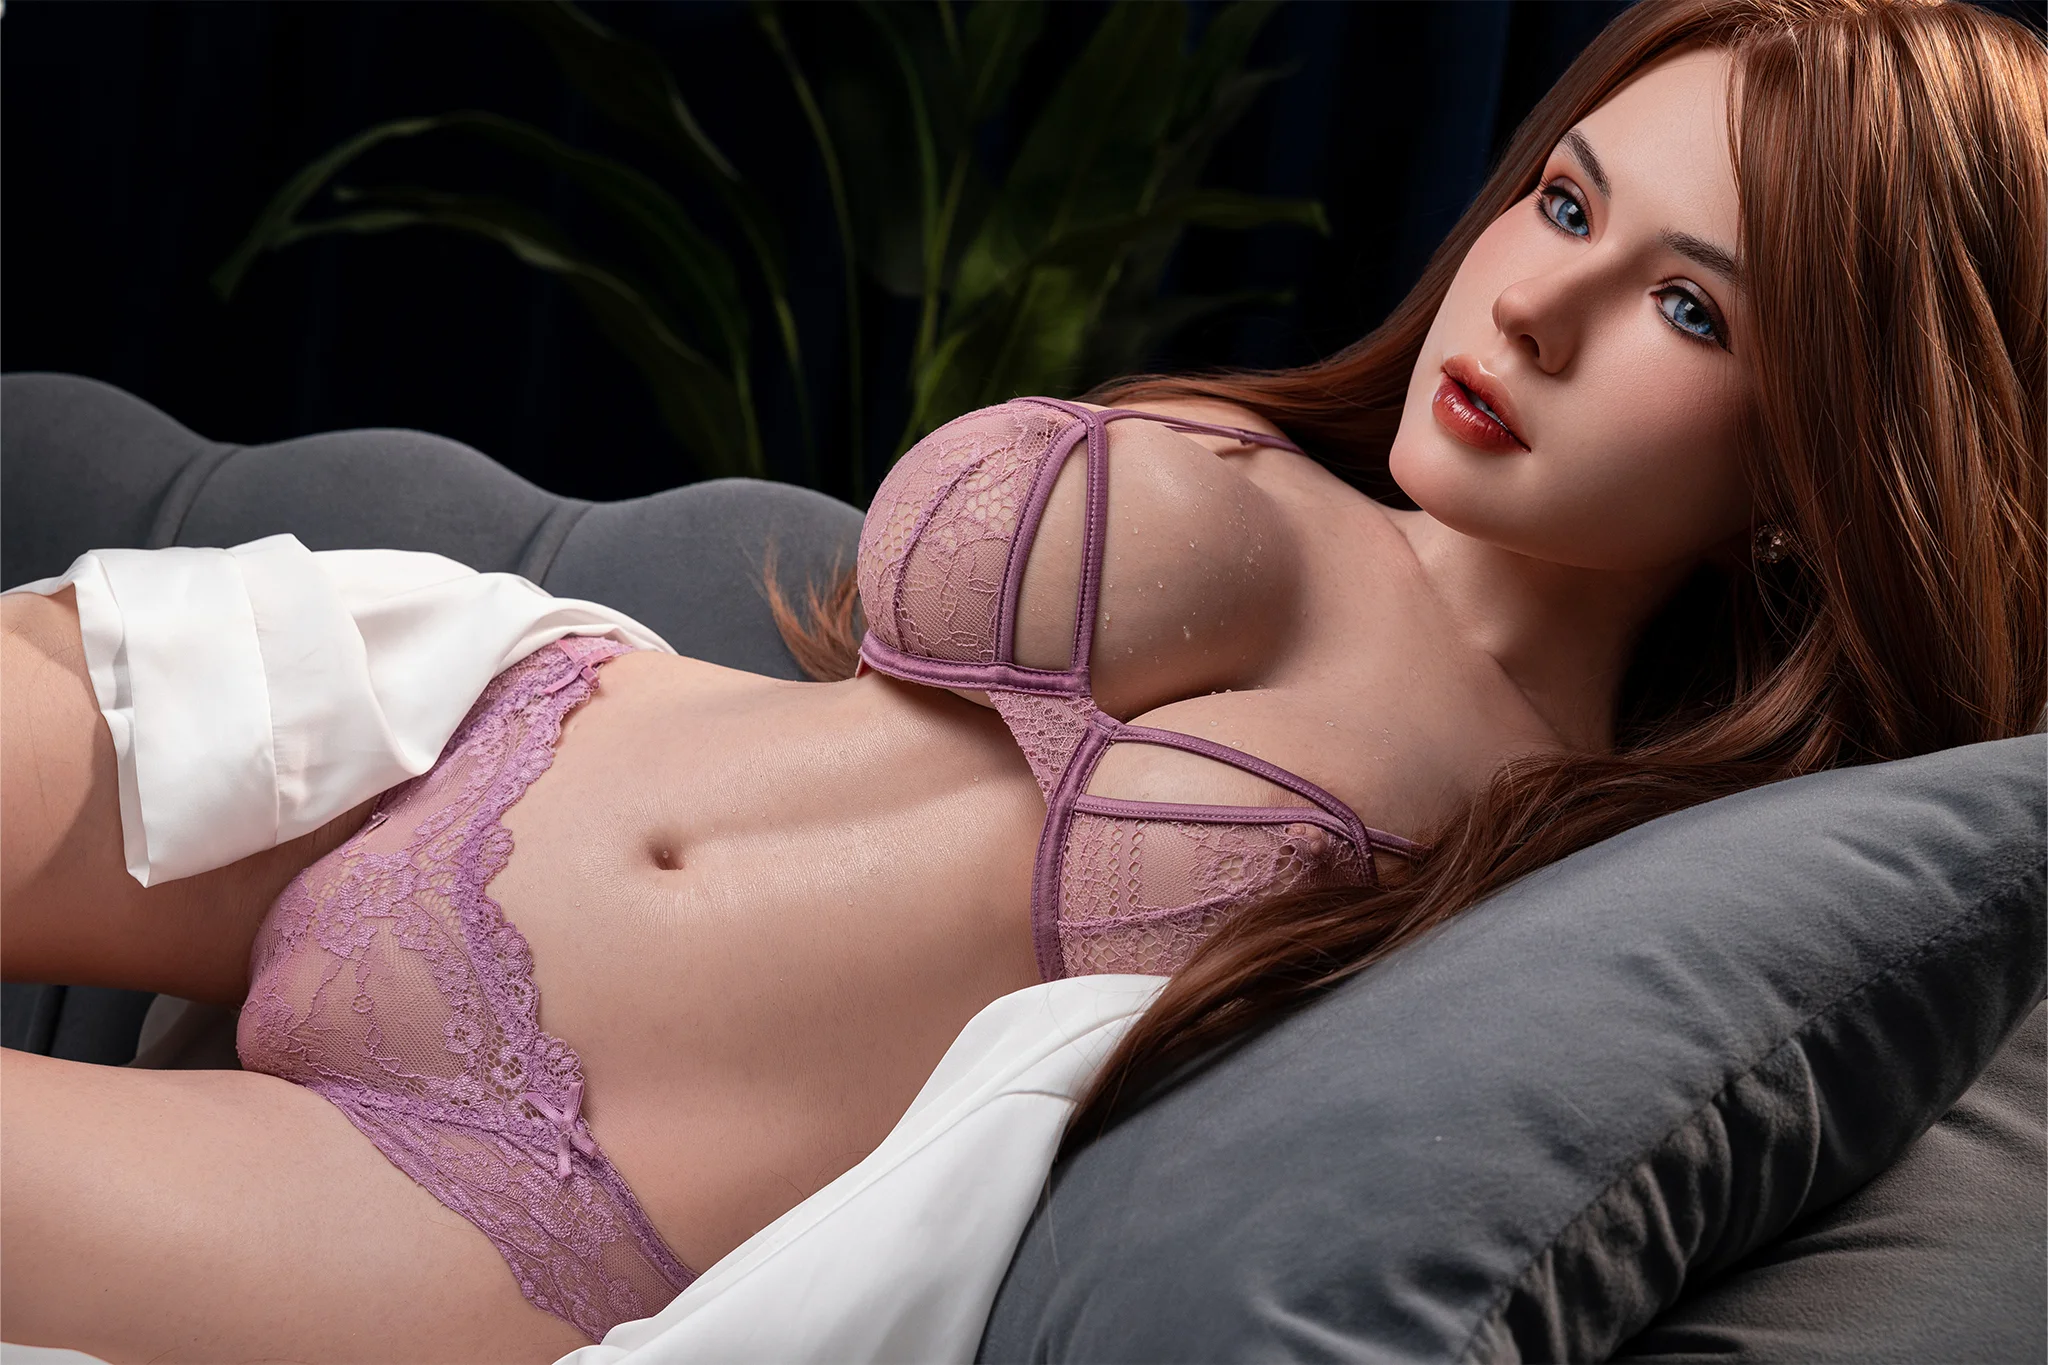
OEM and ODM projects allow distributors and brands to move beyond stock products and create a range that fits a specific market. The terms are often used together, but they describe different starting points. OEM generally means the buyer provides the design, specification or brand direction and the factory manufactures to that requirement. ODM means the factory develops the product or platform, and the buyer customizes it with different materials, faces, packaging, functions or branding.
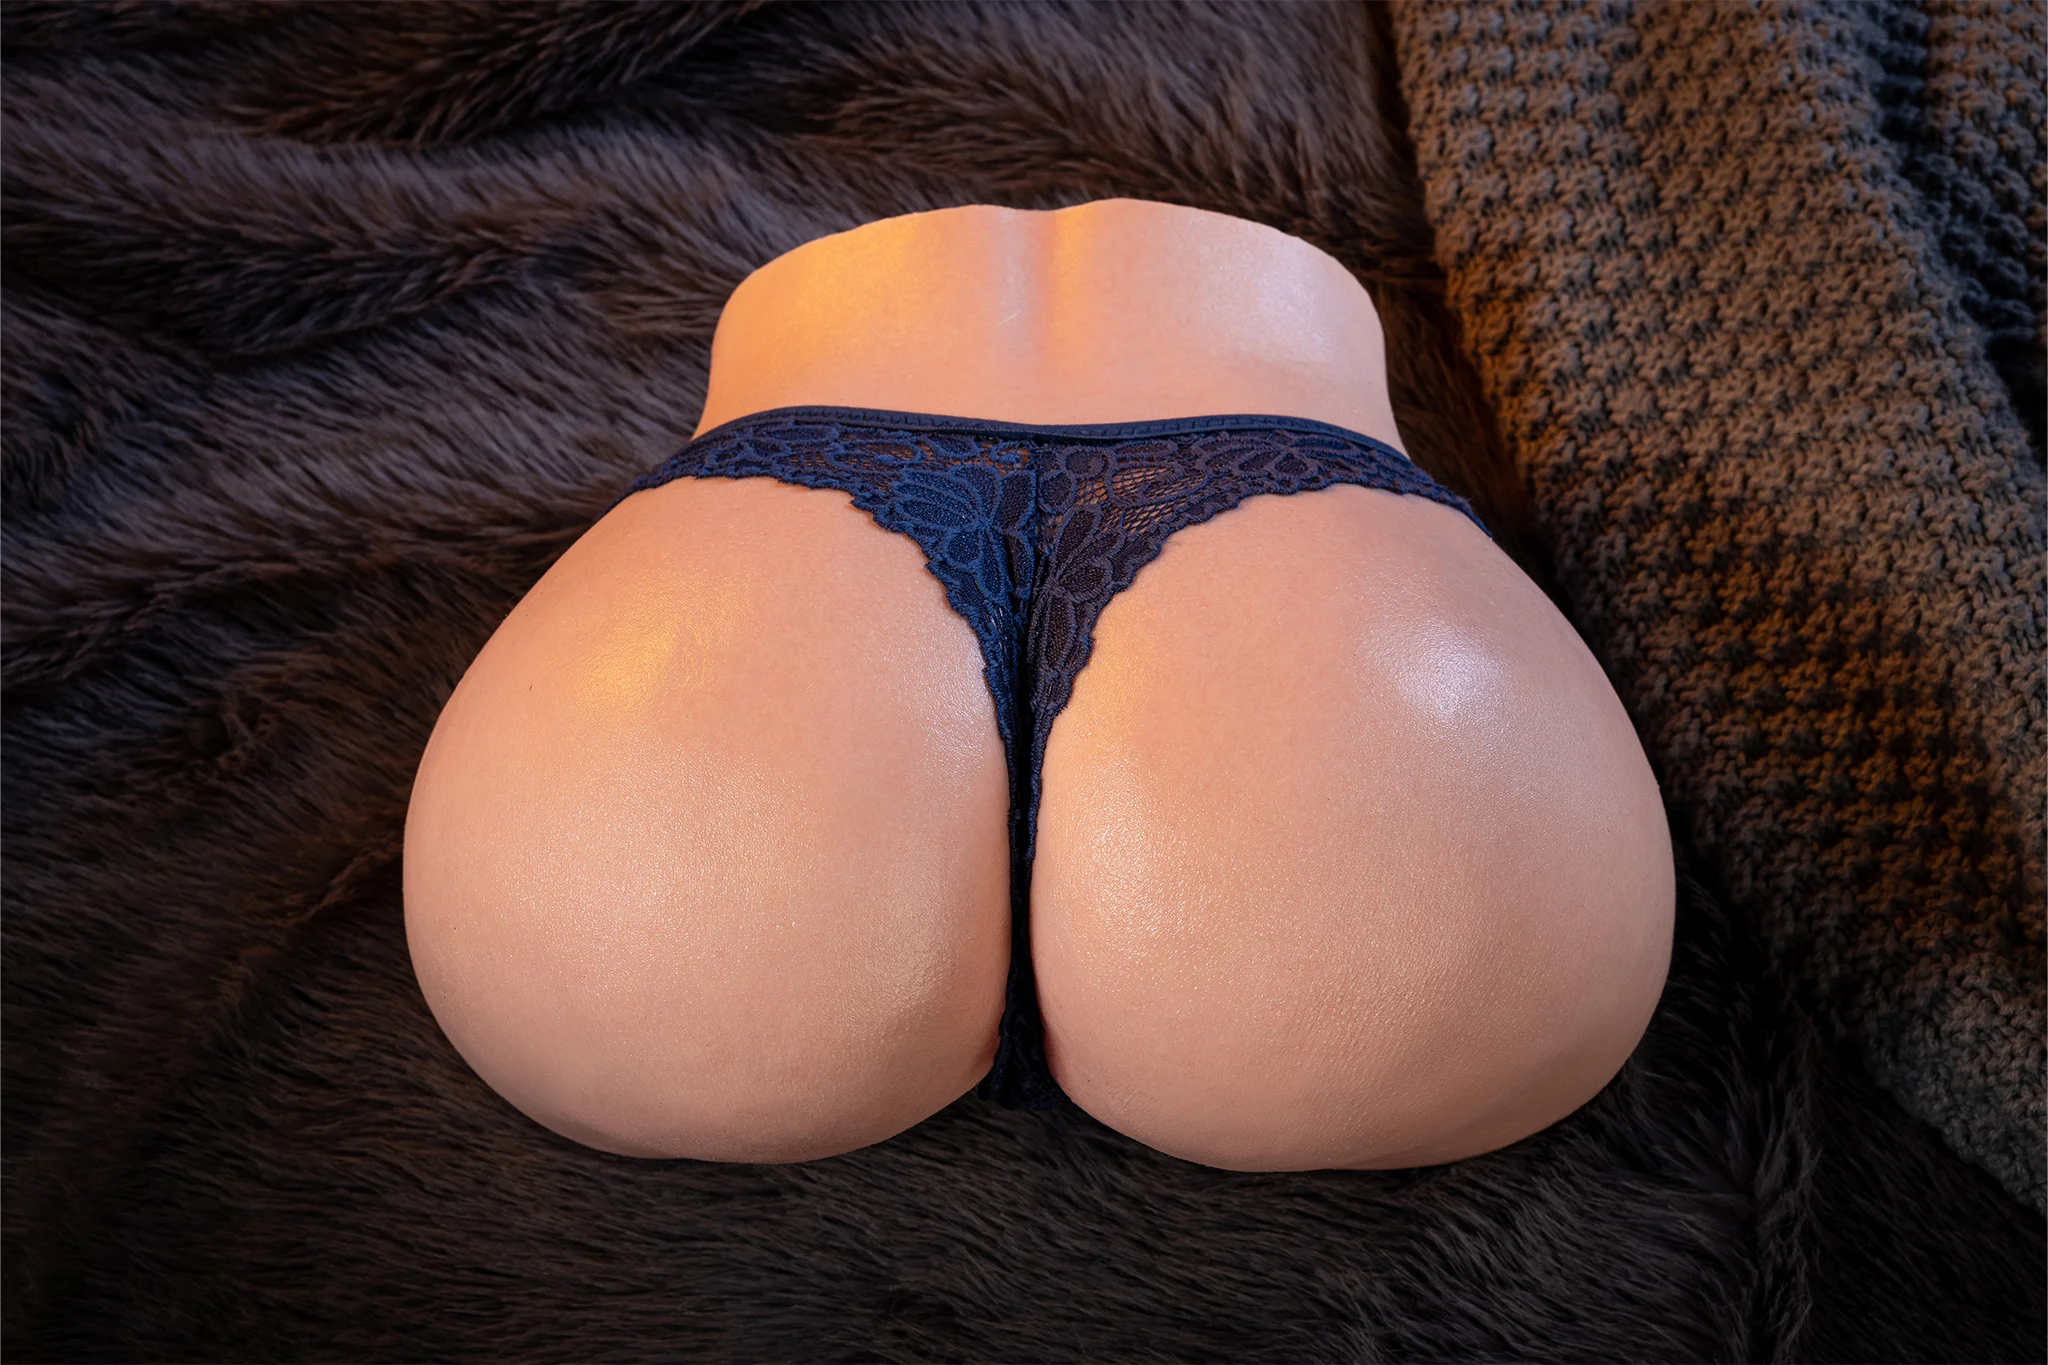
Both models can be effective. OEM gives more control but usually requires stronger technical input and a longer development cycle. ODM reduces development risk and can shorten time to market, especially for new brands. Many successful projects combine the two: an ODM base model is adapted with OEM-level branding and selected features.
Step 1: Define the Product Brief
A customization project begins with a clear brief. Include the intended market, target retail price, customer profile, product type, preferred material, expected order volume and launch date. Add reference images, sketches or competitor examples, but explain what you like and dislike about each reference. This prevents the factory from copying unnecessary details.
The brief should also identify mandatory requirements such as body dimensions, weight range, skin tone, skeleton movement, packaging format, language of manuals and any electronic functions. If the product will be sold in a regulated market, include labelling, documentation and testing expectations at the beginning rather than after the tooling is complete.
Step 2: Choose the Customization Level
Customization can take place at several levels. The most common options include:
- Face and head: facial structure, eyes, makeup, wig, hair implantation and expression.
- Body: height, proportions, curves, skin tone, texture and areas of softness.
- Skeleton: joint range, standing capability, shoulder, hip, waist and neck movement.
- Material: silicone, TPE or a combination selected for the target segment.
- Functions: heating, vibration, voice interaction, sensors, app control and charging.
- Branding: logo, name, labels, manual, warranty card and packaging.
- Accessories: clothing, storage bag, cleaning kit, charger and spare parts.
The factory should explain which changes require new molds, which can be adjusted on an existing platform, and how each choice affects cost, weight, lead time and quality risk.
Step 3: Feasibility and Cost Review
Not every design is practical at the target price. A good manufacturer will review the brief for feasibility before quoting. It may identify weak joint areas, difficult paint effects, electronics space constraints or packaging issues. This review protects both sides from expensive changes later.
Ask for a cost breakdown covering tooling, materials, labour, electronics, painting, packaging, testing and shipping preparation. Separate one-time development costs from repeat production costs. Also confirm what happens if the first sample is not approved, how many revision rounds are included and who pays for additional changes.
Step 4: Design, Sculpting and Prototype
The factory may create a 3D model, clay sculpt or digital rendering before making a physical prototype. Review the proportions from multiple angles and compare them with the approved brief. Pay attention to facial symmetry, neck length, shoulder width, hand and foot proportions, and how the body balances when posed.
For electronic features, request a functional prototype or module demonstration. Check heat distribution, noise, charging, app connection, language support, firmware update process and safety protection. A feature that works on a bench may behave differently when integrated into a full body.
Step 5: Mold Development and Sampling
Once the design is approved, the factory prepares the mold and produces the first sample. The sample should be evaluated against a written specification, not only by appearance. Check dimensions, weight, material hardness, seam quality, paint adhesion, hair fixation, joint movement and surface finish.
Test the product in realistic conditions. Store it in different positions, clean it according to instructions and operate all electronic functions. Record issues with photos and a numbered report so corrections can be tracked. Approval should be documented before mass production begins.
Step 6: Private Label and Packaging
Private label work extends beyond applying a logo. Consider the product name, colour box, inner tray, manual, warranty card, labels, QR code and shipping carton. Packaging must protect a heavy product while remaining practical for warehouse handling and discreet delivery.
Ask for a physical packaging sample. Check print colours, barcode placement, language, fold strength and whether the product moves inside the box. If you sell through retail partners, confirm carton quantities and master carton labels.
Step 7: Pilot Production and Quality Control
A pilot run helps confirm that the approved sample can be reproduced consistently. Compare pilot units with the golden sample and inspect critical dimensions, colours and functions. Review the inspection plan for incoming materials, in-process checks and final testing.
Define your acceptance criteria before production. These may include cosmetic tolerances, joint performance, electronic function, noise level, packing condition and labelling accuracy. A third-party inspection can be useful for large orders or first shipments.
Step 8: Mass Production and Delivery
Mass production should follow an approved schedule with clear checkpoints. Confirm material availability, mold capacity, assembly slots, inspection date and packing completion. Before shipment, review photos or video, carton marks, shipping documents and loading arrangements.
Writing an Effective Customization Brief
A strong brief reduces avoidable revisions. Include the target market, customer profile, intended selling price, launch date and expected order volume. Describe the product category, preferred material, body height, weight limit, skeleton requirements and functions. Add reference images, sketches or competitor examples, but explain what you like about each reference rather than asking the factory to copy it.
Separate requirements into must-have, preferred and optional features. For example, a specific face style and body proportion may be mandatory, while heating or a custom app may be optional for the first production run. State the desired packaging style, language, barcode requirements and delivery destination. The clearer the priorities, the easier it is for the factory to propose a realistic solution within budget.
Managing Revisions Without Delays
Customization projects often slow down because feedback comes from too many people or because changes arrive after tooling has started. Appoint one decision maker who consolidates comments and gives final approval. Use a numbered revision log that records the request, date, responsible person, cost impact and decision. This prevents the same issue from being reopened and makes the approval history easy to audit.
Ask the factory to confirm when the design must be frozen. Changes after that point may require a new mold, new packaging artwork or additional testing. If a late change is essential, request a written impact statement covering cost, lead time and quality risk before approving it. A disciplined revision process is not bureaucracy; it protects the launch schedule.
Planning an Exclusive Product Roadmap
Think beyond the first model. A practical twelve-month roadmap may include one hero product, one body or face variant, an accessory set and a second model based on customer feedback. Reusing approved platforms can reduce development cost while still creating a distinct brand range. Keep specifications, molds and approvals under version control.
Review sell-through, return reasons and support tickets before deciding the next release. If customers ask for lighter bodies, easier cleaning or quieter electronics, those signals should shape the next brief. A roadmap helps the factory reserve capacity, plan molds and purchase materials. It also prevents the brand from launching disconnected products that do not build a recognisable identity.
Protecting Your Design and Brand
Discuss confidentiality, mold ownership, exclusivity and the right to use your artwork. Custom tooling should be governed by a written agreement. If a model is exclusive, state the territory, duration and minimum volume conditions clearly.
Common Mistakes to Avoid
The biggest risks are starting tooling without an approved specification, relying on verbal changes, comparing only sample price and leaving packaging until the end. Another common mistake is requesting too many custom features in the first order. A focused launch product is easier to control and can be expanded after sell-through is proven.
OEM and ODM success depends on clear documentation, disciplined sampling and a factory that communicates openly. With the right process, customization becomes a repeatable system rather than a series of surprises.
Key Takeaway
Successful OEM and ODM projects depend on clear specifications, controlled revisions and documented approvals. Keep one decision maker, one revision log and one golden sample. Confirm the factory scope for tooling, materials, electronics, packaging and exclusivity before development begins. A custom project does not need to be complicated, but every change should have an owner, a cost impact and a written decision. This structure helps brands launch faster and gives the factory the information needed to reproduce the approved product consistently.
CoolMate Silicone Doll Factory supports custom sculpting, material selection, electronic integration, private label packaging and pilot production for companion doll brands worldwide.